A Comprehensive Guide to Removing Decals: Tips and Techniques
Share
Removing decals can be a tricky task, but fear not! You don't need specialized equipment for this job. With the right tools and techniques, you can bid farewell to decals without leaving a mark on the surface beneath. In this comprehensive guide, we'll take you through the decal removal process step by step and offer alternative methods for those who don't have access to specific tools.
Getting Started
Before you roll up your sleeves, make sure you have everything you need at your fingertips. Here's a list of essential supplies:
- Heat Gun or Hair Dryer: The key to success is applying heat to break the adhesive bond of the decal. For larger surfaces like commercial truck bodies, opt for a heat gun. For smaller areas like passenger vehicles, a hair dryer set to low heat will do the trick.
- Clean Surface: Begin by giving your surface a thorough cleaning. Wash your vehicle, use window cleaner on windows, or wipe walls and floors with a household cleaner. A clean surface is the foundation of effective decal removal.
- Adhesive Remover: To tackle any lingering adhesive residue, a full-strength adhesive remover is your go-to solution.
- Rags or Towels: You'll need these to wipe off the cleaner and adhesive.
- Water and Soap: A splash of soapy water on your rag will ensure the surface is spotless.
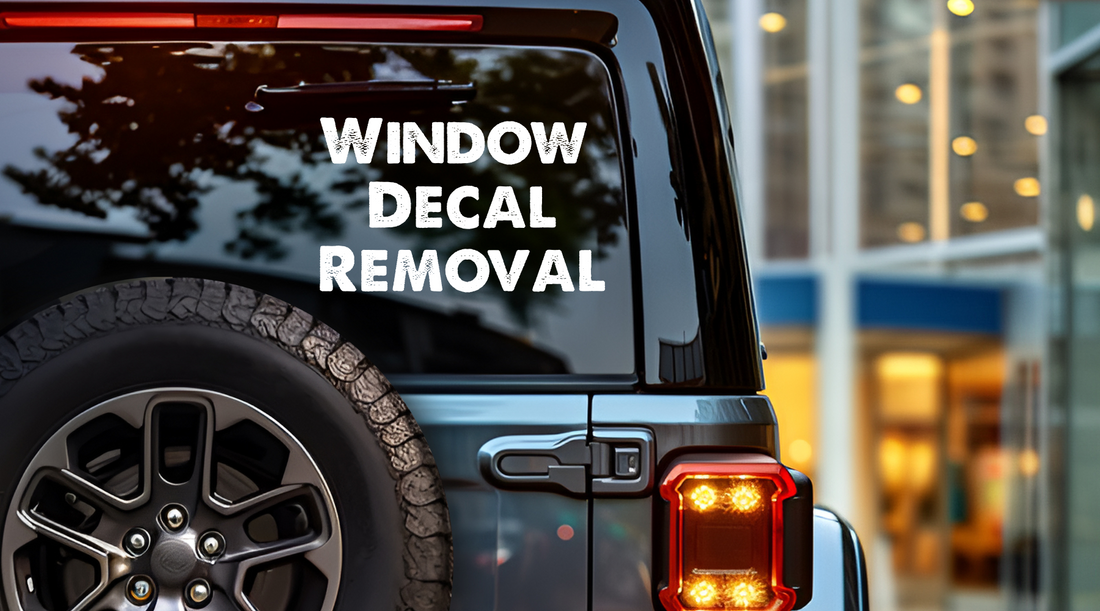
Removing Decals from Vehicles
Custom-made decals often grace various types of vehicles, from windows and windshields to full or partial vehicle wraps. Here's the step-by-step process to remove them without harming your vehicle's finish:
- Heat Up the Decal: Take your heat gun or hair dryer and gently warm the surface of the decal. For larger decals, work in sections to keep it warm. Warmed decals are much easier to remove.
- Peel It Off: Begin by carefully lifting the edges of the decal using your fingers, a plastic card, or a putty remover. Avoid using sharp objects that could damage the paint. Once you have a good grip, peel it off with a side-to-side motion.
- Use Adhesive Remover: Apply the recommended amount of adhesive remover to the area and rub it with a rag. Follow the instructions on the product, leaving it on for about a minute. Then, wipe it down with soapy water to reveal a clean surface.
For larger decals, be prepared to exert a bit of elbow grease; they may require some extra effort to remove.
Alternative Methods
If the above method doesn't do the trick or you lack specific tools, consider these alternative techniques:
- Use Warm Water: Instead of a heat gun, try applying hot water to the sticker, similar to how you'd apply a temporary tattoo. Alternatively, you can boil water and pour it over the decal to loosen the adhesive.
- Nail Polish Remover or Razor Blade on Windows: For window decals, nail polish remover can work wonders. Just be cautious not to use it on the car body as it can damage the paint. You can also use a razor blade to gently peel off the sticker from the window but avoid using it on the car's surface.
By following these techniques, you can successfully bid farewell to decals on various surfaces without causing any harm. Remember to exercise caution and choose the method that best suits your specific situation. With the right approach, you'll have a clean slate in no time!